Connect Your Charts and Dashboards to a Redshift Database
Graph data from your Redshift database with Chart Studio and Falcon.
Download and Install Falcon
If you haven't downloaded and installed Falcon yet, please follow the instructions for either personal setup or company on-premise.
Launch and Connect
After launching Falcon, select Redshift by clicking on its icon.
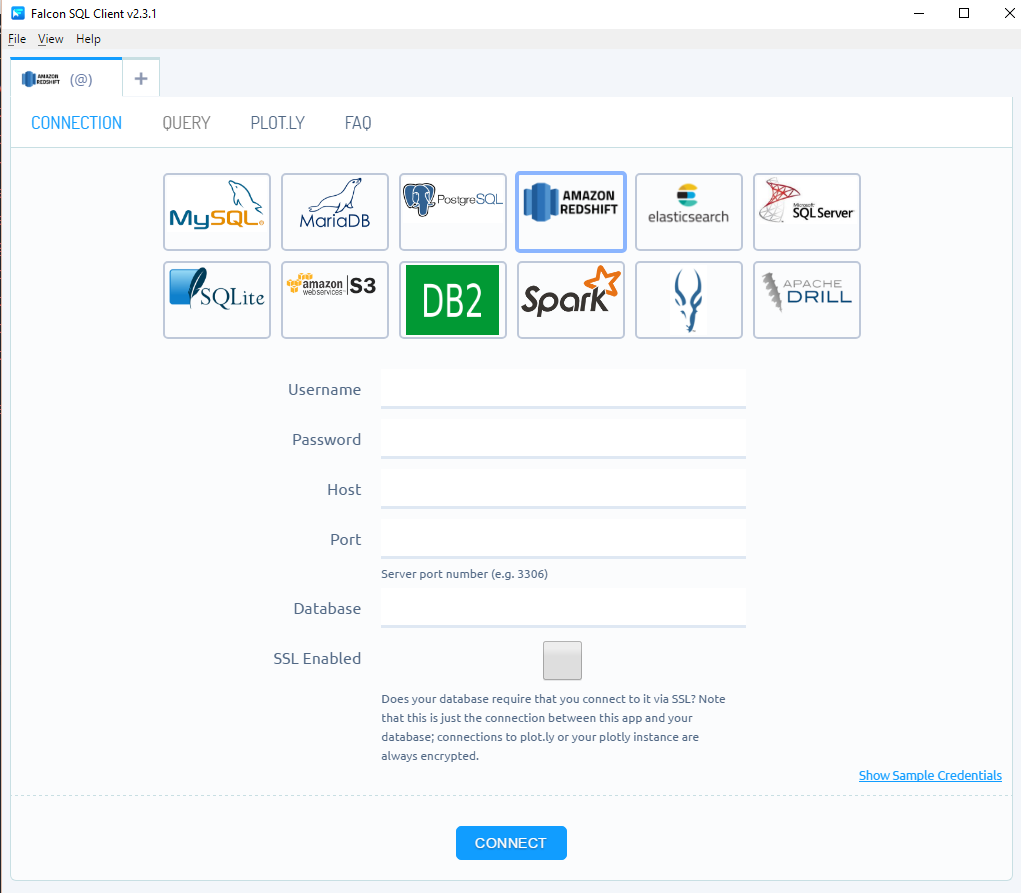
Enter your username, password, database server name (host) and its port number and click CONNECT.
NOTE: If you are running your database locally, the host input field can stay empty since its default value is 'localhost'. Similarly, if your database is setup on port number 3306, you may leave the port input field empty as well. If your database is setup on a remote server, simply copy the endpoint name into the host input field and enter the remote server's port number on which your database is located.

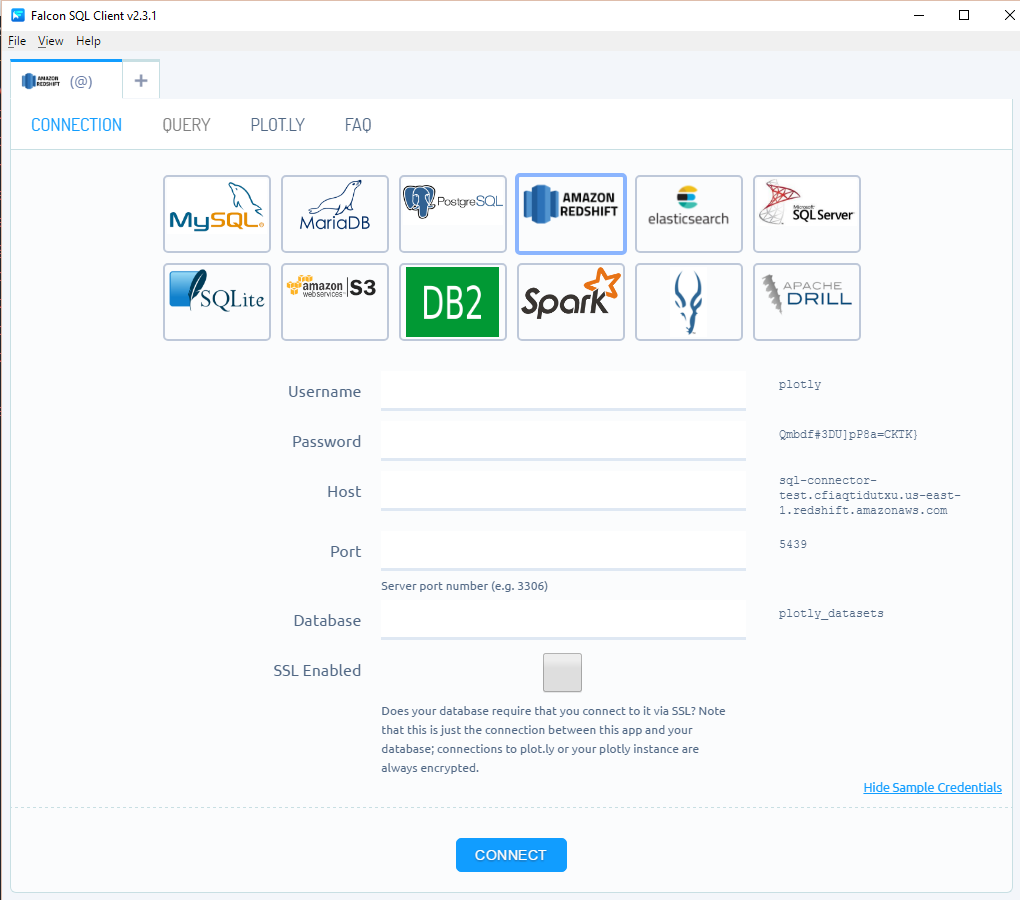
Have no database? Try it out with our read-only My SQL database. Simply, click Show Sample Credentials, copy, paste and click CONNECT.
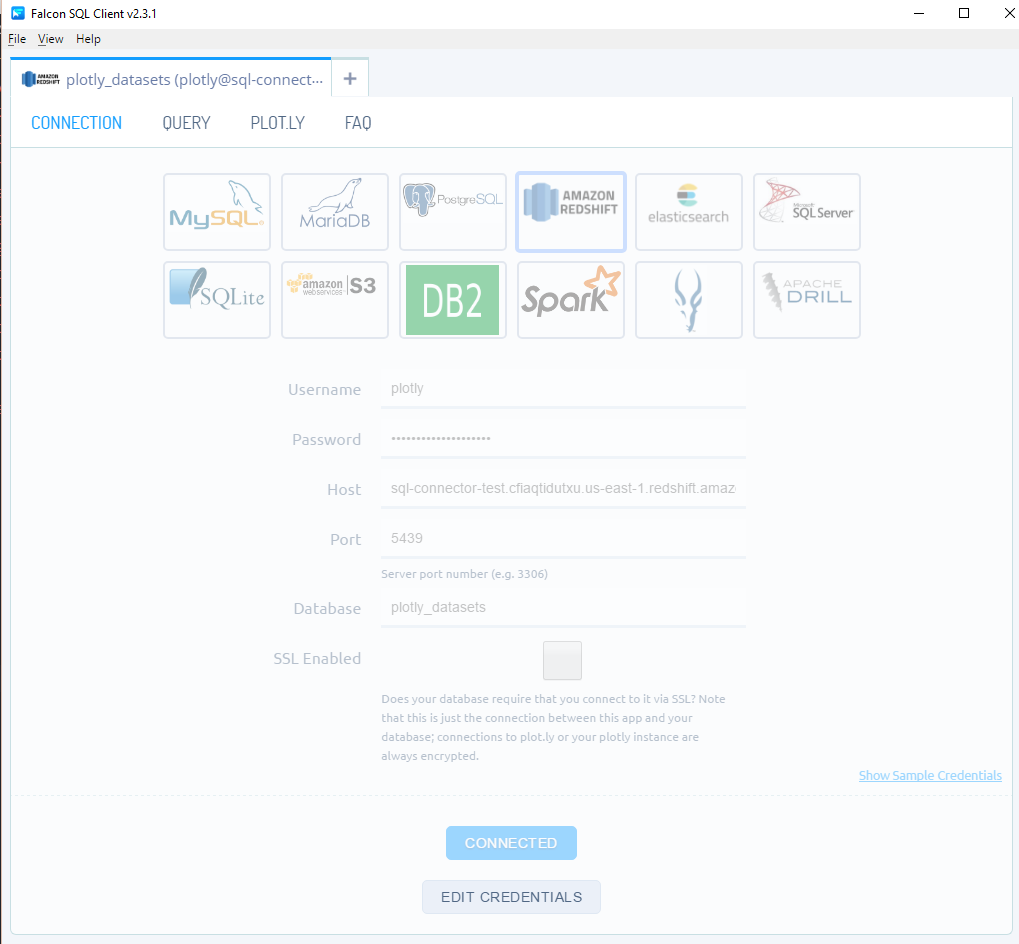
Once connection is established, your connection credentials will be saved and greyed out to avoid unintentional changes. If you wish to modify your connection, click on Edit Credentials.
Query
For a tutorial on the query tab, which features schema preview, the ability execute sql queries, perform inline data visualization, preview tables and export CSV files, see Query From Falcon.
Query Redshift From Plot.ly
If you want to unlock the full power of Plotly's Chart Studio, you can click the PLOT.LY tab and QUERY [DATABASE] FROM PLOT.LY. To learn more about this feature, naviagte to the Query From Plot.ly tutorial.
Plotting in Chart Studio
If you opted to run your queries from plot.ly and want to make a styled and interactive plot in the Chart Studio. Check out our Chart Studio tutorials
