Setup Falcon SQL Client on a Personal Computer
Setup a database connection using Falcon SQL Client
What is Falcon?
Falcon is a free, open-source SQL editor with inline data visualization. With Falcon you can connect to your database in the Connection tab, run SQL queries in the Query tab, then export your results as a CSV or open them in the Chart Studio to unlock the full power of Plotly graphs. Optionally, you can use Falcon as a middleman between plot.ly and your database - so that when your database updates, your charts and dashboards update as well. Currently, Falcon supports connections to RedShift, MySQL, PostgreSQL, IBM DB2, Impala, MS SQL, and SQLite.
Download the App
If you haven't yet, download Falcon SQL Client to get started! Upon clicking on the download link for either Mac or Windows distribution, a file should be added to your Downloads folder.
Install Falcon (Windows)
Visit your Downloads folder and double click on the application executable to unzip.
Next, double click on the application. Your application will start to install itself. Note that some security settings may require you to install the application as an Administrator (right click and choose the administrator option to do so). The installation process may take up to several minutes.
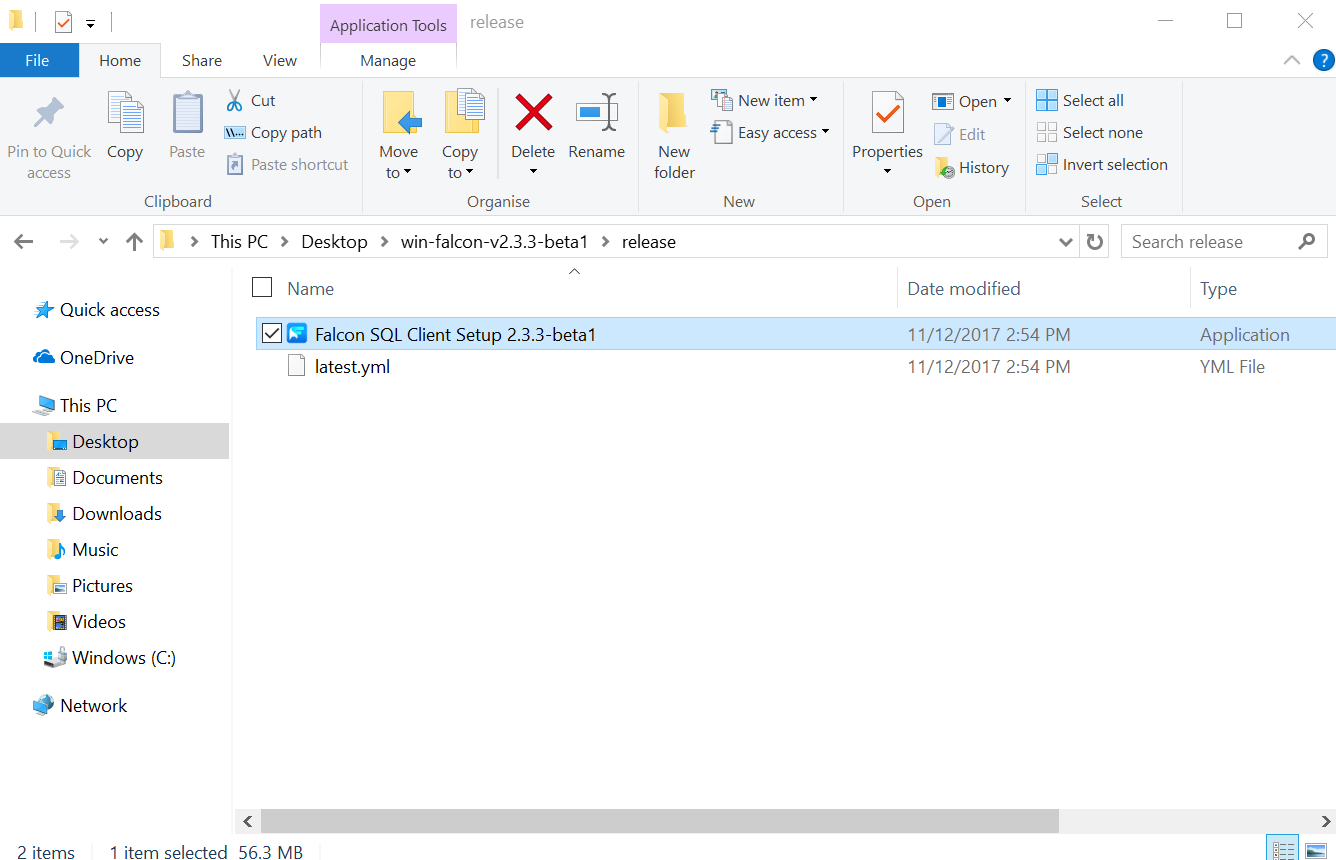
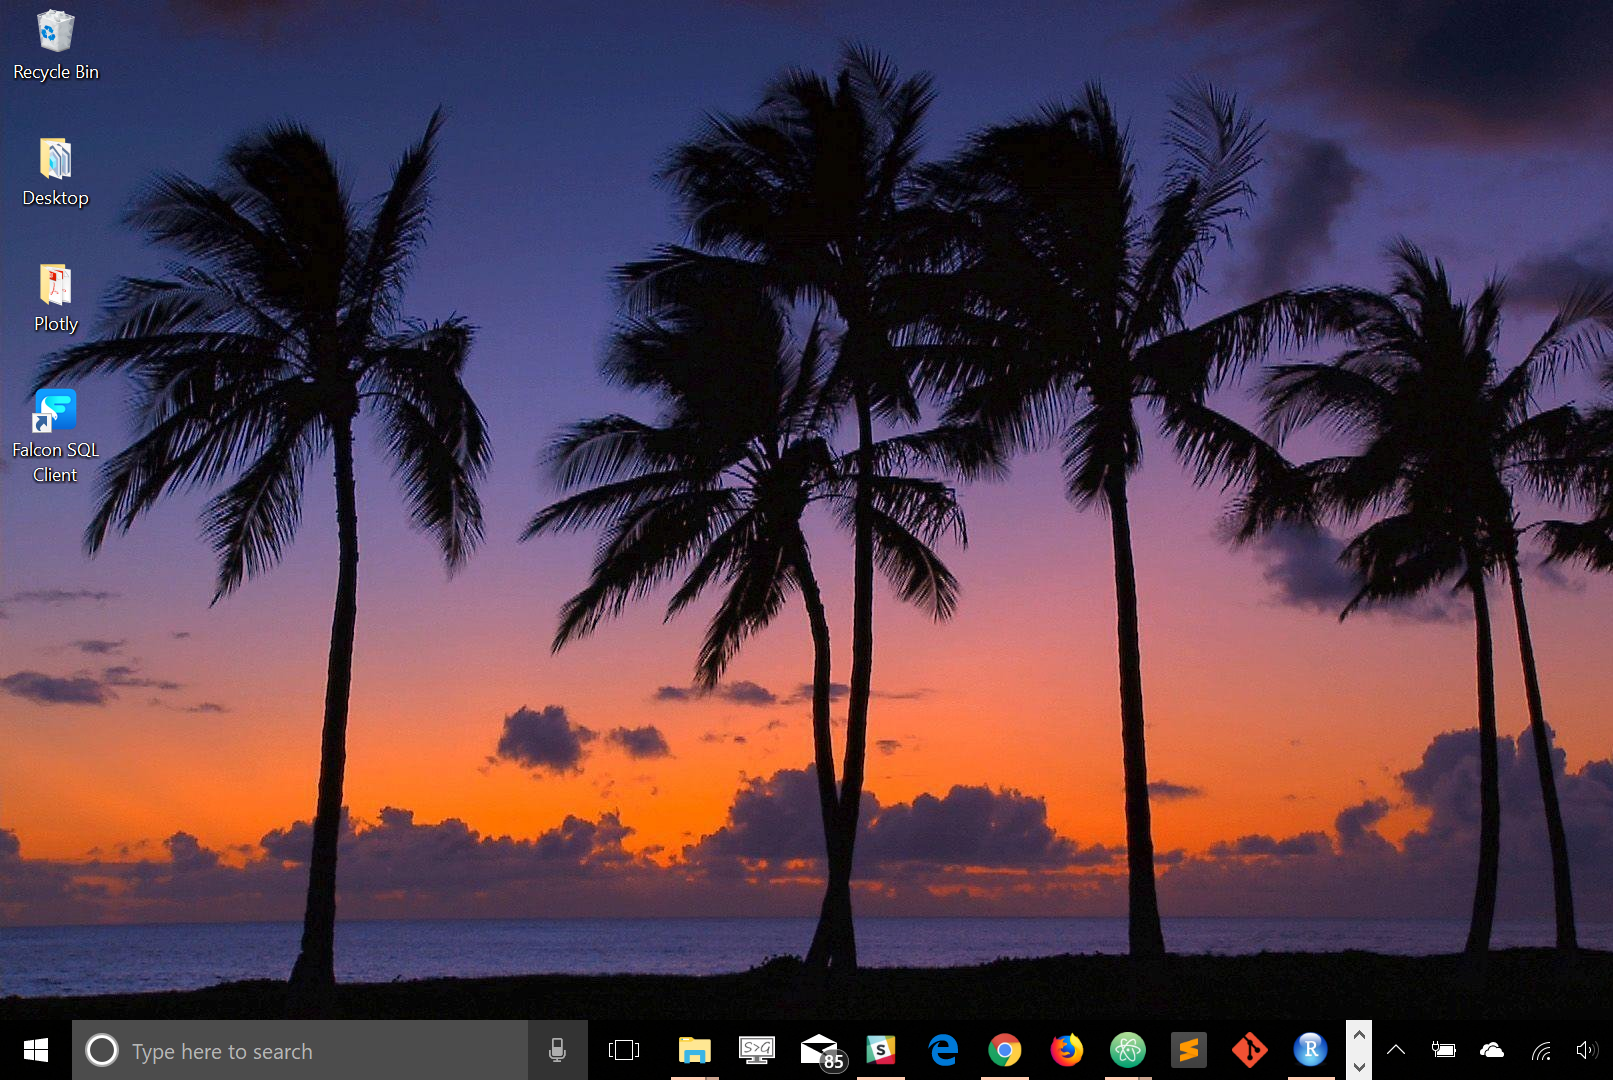
Once installed, a desktop icon will be created on your desktop. Double click on it to open the application and you're ready to soar.
Install Falcon (Mac)
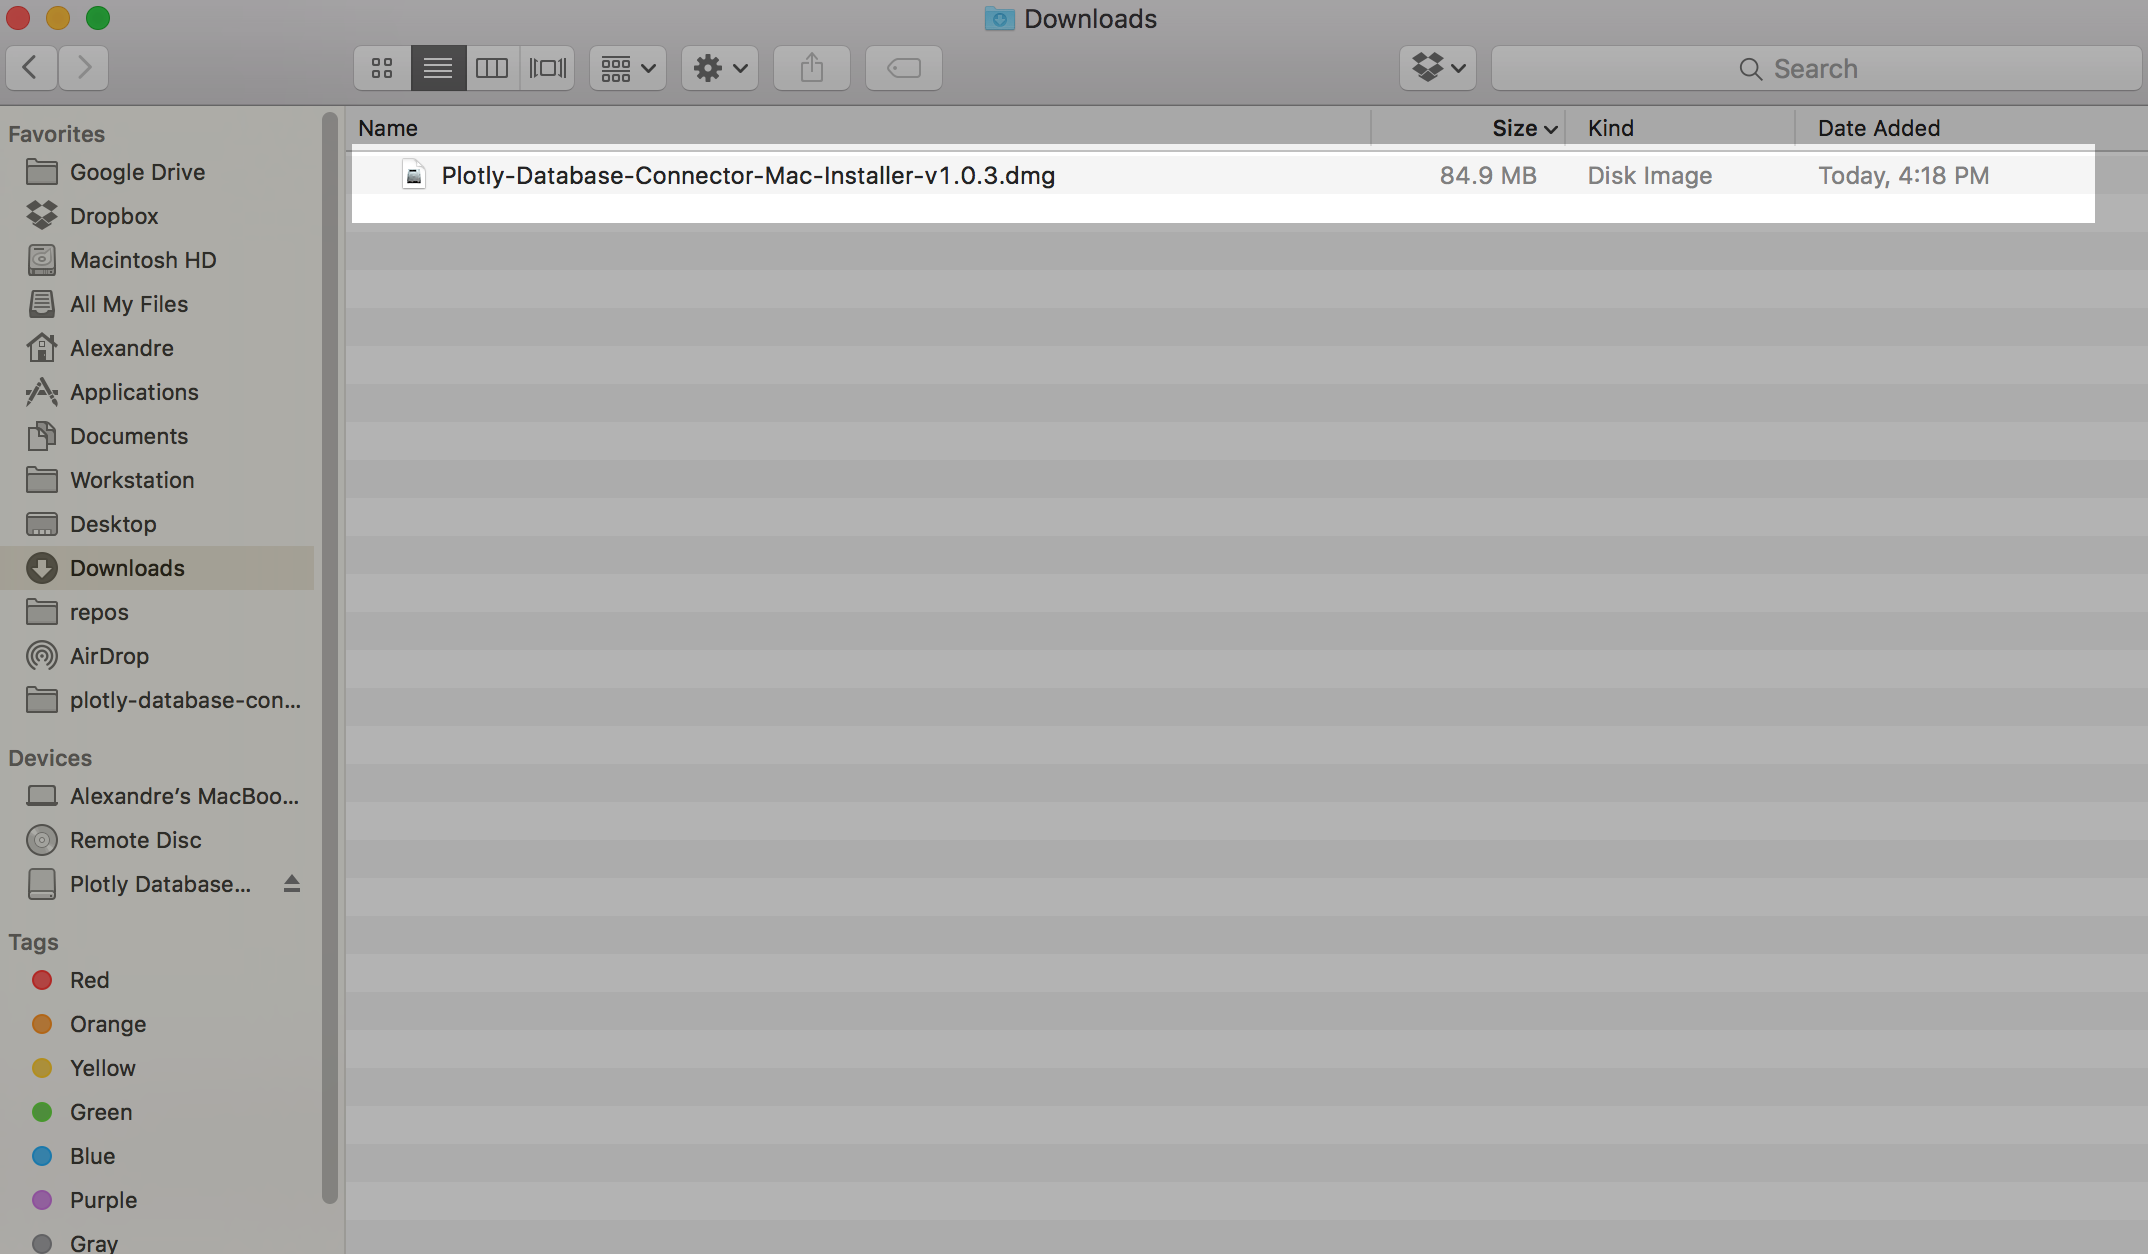
Visit your Downloads folder, double click on the application installer DMG file.
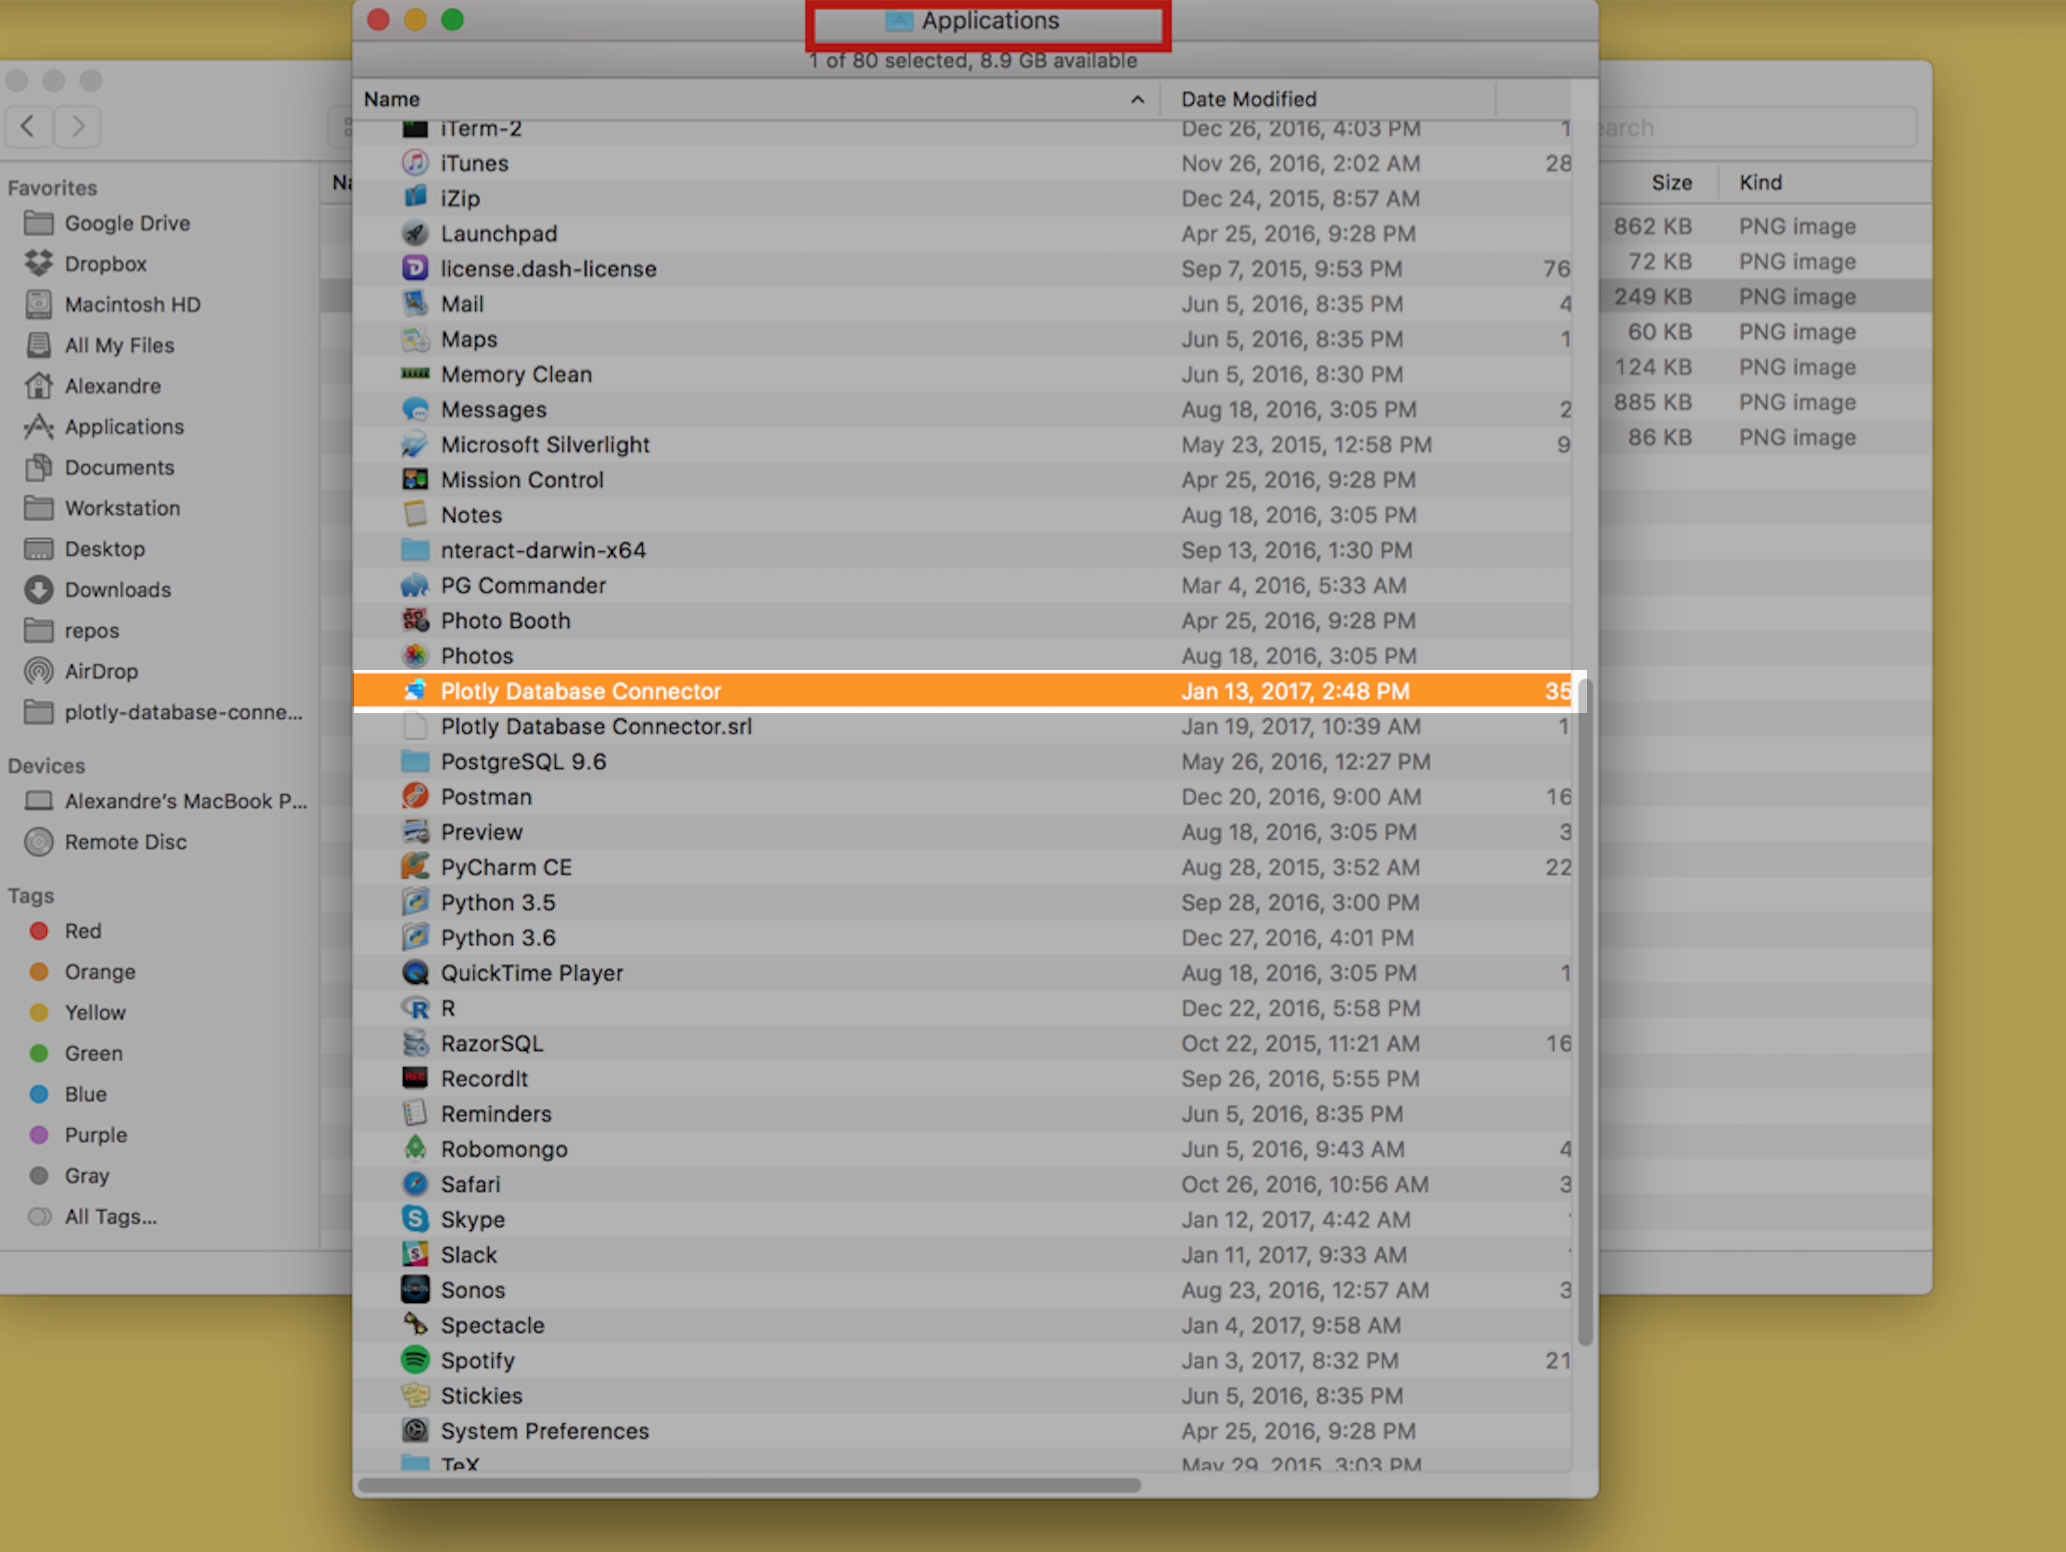
Drag the Falcon icon into the Applications folder when prompted.
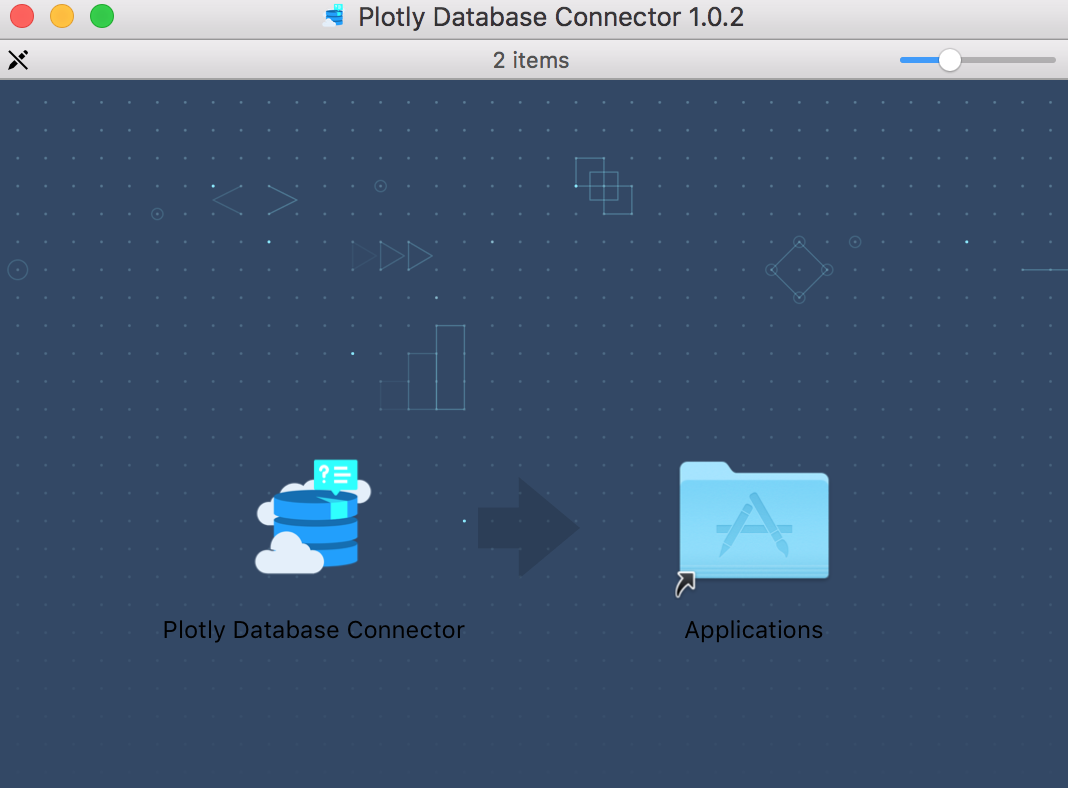
Once installed, a desktop icon will be created in your applications folder. Double click on it to open the application. Note that some security settings may require you to open the application as an Administrator (right click and choose the administrator option to do so)
Authorization
Now that the application is installed you can open it. Here, the connector app may automatically log you in with your Plotly credentials. If not, you will be prompted for your Plotly login credentials.

Next, A new window will open asking for you to confirm authorization by clicking 'Authorize'

Automatic SSL
In version 2.0+, the app will now automatically generate an SSL. This may take several minutes!
Let's Encrypt is service for offering free SSL certificates. What we've done is created a server which generates a unique subdomain and a unique Let's Encrypt SSL certificates for that subdomain. We then re-route that subdomain's DNS to localhost:9495.
For example, when you start up your app, your app will make a request to this certificate and domain issuing server. After several minutes (this authorization only needs to be completed once), you'll have a unique subdomain and a unique server. Your application will spin up a server with those certificates and the plotly chart creator web application will be able to make requests to your server, no problem!
The domain https://plotly–ab29698f-1b35-420c-881d-6.plotly-connector.com has a unique certificate associated to it. And remember, this domain just re-routes to localhost:9495 on the global DNS network. It's still just loading content from your localhost server - data is not traveling over the network!
These certificates are saved locally on your machine in the ~/.plotly/connector folder. They expire every 90 days and the application should automatically generate a new one for you
Setup a Connection to Your Databases
Now you should see the Falcon interface (like below). Here, you can setup a connection to your databases. As you can see there are numerous databases available. For more specific guidance, visit the tutorial for your database or see our full list, which includes MySQL, MS SQL, PostgreSQL, MariaDB, Redshift, Apache Drill and Parquet files, S3, Elasticsearch or request a new one if you do not see what you want.
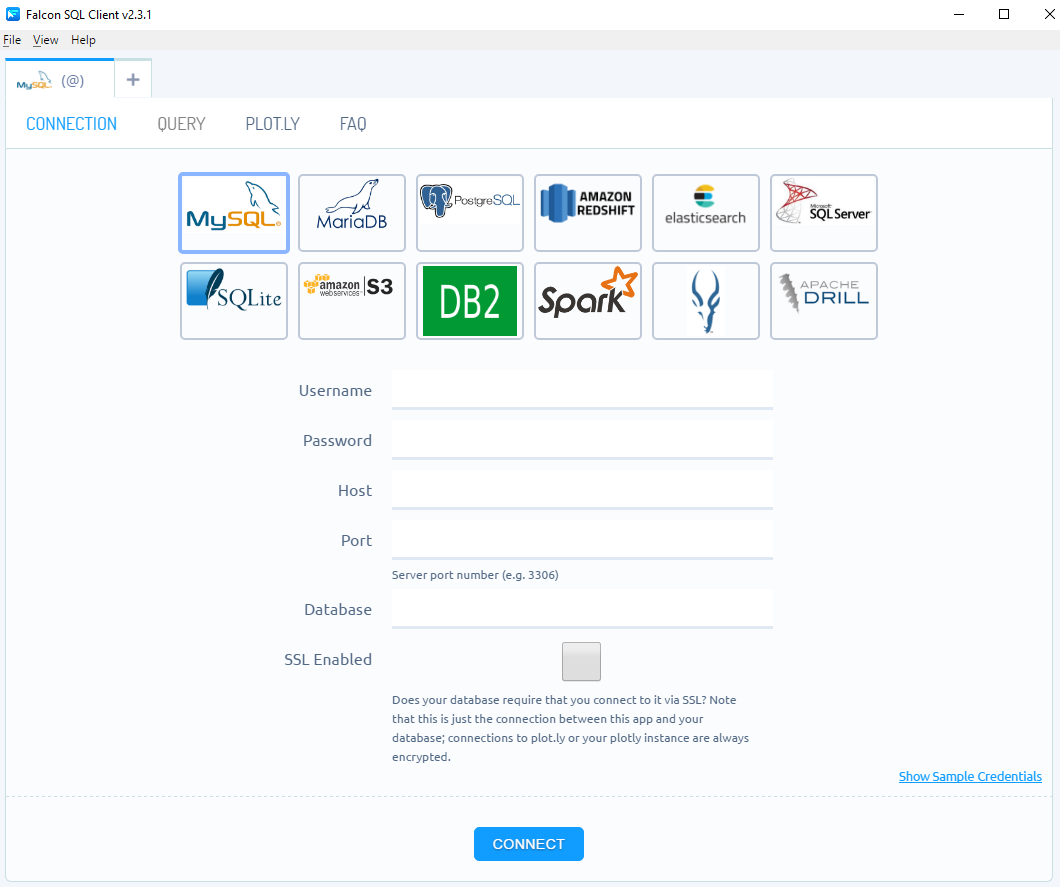
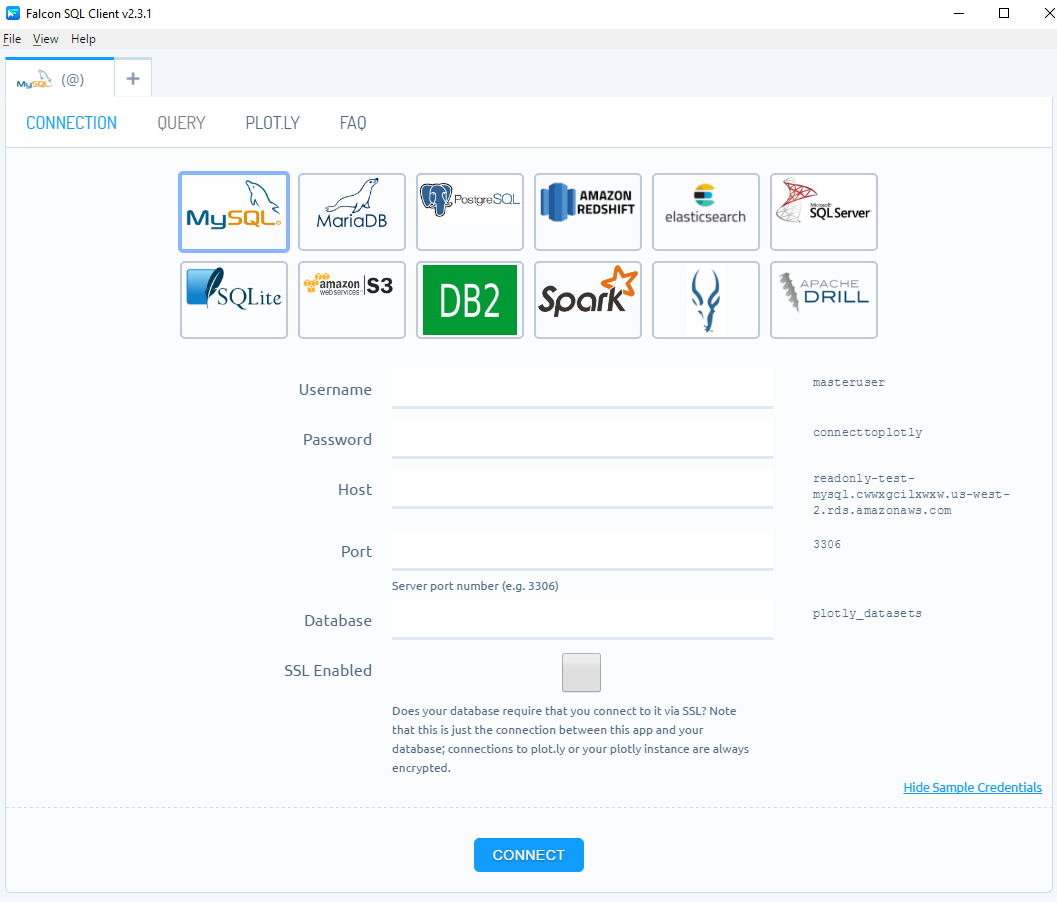
If you're unsure of how your credentials should be formatted, see an example by toggling 'Show Sample Credentials'.
Setup Scheduled Queries
The Plotly Database Connector stores the credentials to your databases. It can also run queries on a schedule (see tutorial). The Plotly Database Connector will save the results of the queries to user accounts in the Plotly On-Premise server through the Plotly Grids API.
Setup Falcon on a Server
If you would like to run Falcon on a separate server, then you can run it headlessly from the command line (more information).
